
DIY DYED ROBIN EGGS
You’ll need:
- a dozen white, hard boiled eggs
- 1 head of red cabbage
- 4 tsp of white vinegar
- edible metallic gold paint
- thick bristle paintbrush or old toothbrush
Start by roughly chopping a head of red cabbage. Put the cabbage in a large pot with 5 cups of water. Bring to a boil and then simmer for 30-45 minutes. Allow the cabbage to cool completely before straining the cabbage out of cabbage dye. Stir in 4 tbs of white vinegar.
Place the eggs in a deep baking dish and pour the dye over the eggs. You’ll want to have each of the eggs completely submerged and not touching each other. But hey – the dye is purple!! That’s right. Just wait. You’ll only have to wait as long as an hour to see the magic happen.
For a lighter robins egg blue, you only need to leave the eggs in the dye for about 1-2 hours. Because the bottom of the eggs make contact with the baking dish, you’ll want to rotate the eggs every half hour or so. When you pull an egg out of the dye, after 1-2 hours, you’ll notice the color will look super faint. It’s okay. The color will darken and develop a richer, greenish hue as it dries. I know, magic.
I wanted an ombré of blues so I took a few of eggs out after an hour, after two hours, after three hours and after four hours. If you are going to leave the eggs for longer than that, or overnight, I suggest putting the eggs and dye in the fridge.
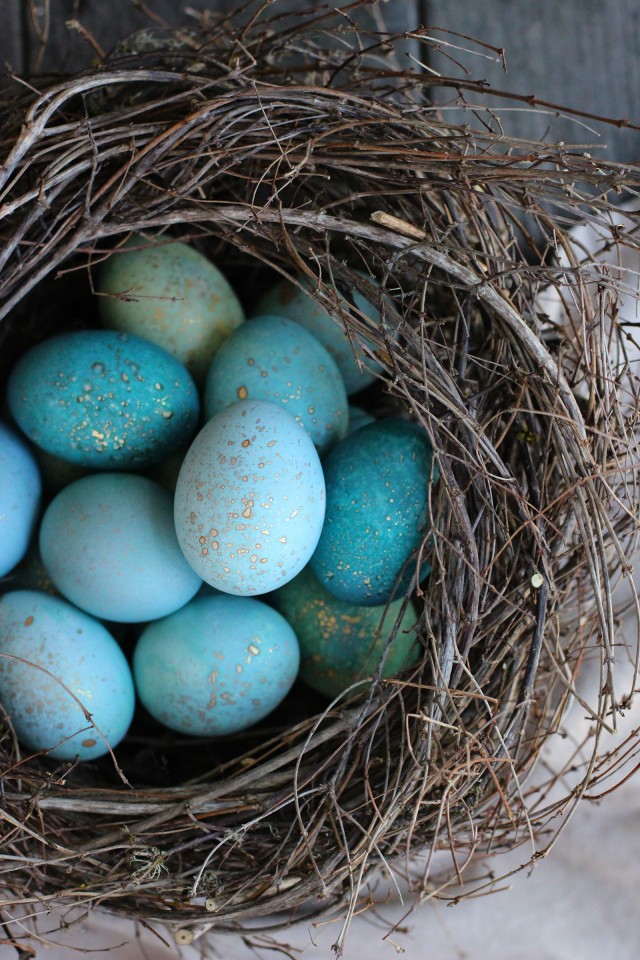
Once the eggs have dried completely, you can leave them as they are or spray them with edible gold paint for a pretty speckled effect. Lay the eggs on a few sheets of paper towels. Dip a dry bristle brush or old toothbrush into the paint and run your index finger along the bristles above the eggs. Let the paint dry before splattering the opposite side.
Your edible, robin eggs are finished!


No hay comentarios:
Publicar un comentario